How to use a Paint sprayer for Beginners – Quick Guide

Introduction
How to use a Paint sprayer for Beginners ?
Using a paint sprayer is a great way to get a smooth, even coat of paint on large surfaces quickly. However, it can seem daunting for beginners who aren’t familiar with the equipment. But fear not! With some practical tips and a little practice, you’ll be able to use a paint sprayer like a pro in no time.
One of the most important tools for any DIY painter is a paint sprayer. With a paint sprayer, you can easily cover large surfaces in a short amount of time, achieving a professional-looking finish with minimal effort. However, many beginners find it challenging to use a paint sprayer for the first time. In this guide, we will take you through the step-by-step process of how to use a paint sprayer for beginners, including tips and tricks to help you achieve a smooth and flawless finish. So, let’s get started and transform your space with ease!
Tips to Start Right
Here’s a guide to help you get started with using a paint sprayer:
Choose the Right Sprayer
Before you begin, you should make sure you have the right sprayer for the job. Paint sprayers come in different sizes and styles, and each type is designed for a different purpose. Picking the appropriate sprayer based on the size of the project and the type of paint used is important.

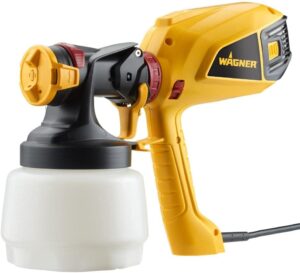
Airless sprayers are powerful and more suitable for large projects, while HVLP (High-Volume, Low-Pressure) sprayers are better suited for smaller projects and a wider variety of paints. Make sure you choose a sprayer that suits the task ahead of you.
Prepare Your Workspace
Once you have your sprayer, the next step is to prepare your workspace. Make sure that the area you’re going to be painting is clean and clear of any dust or debris. It’s important to cover or remove anything you don’t want painted, like furniture or flooring, by using drop cloths or plastic sheeting.
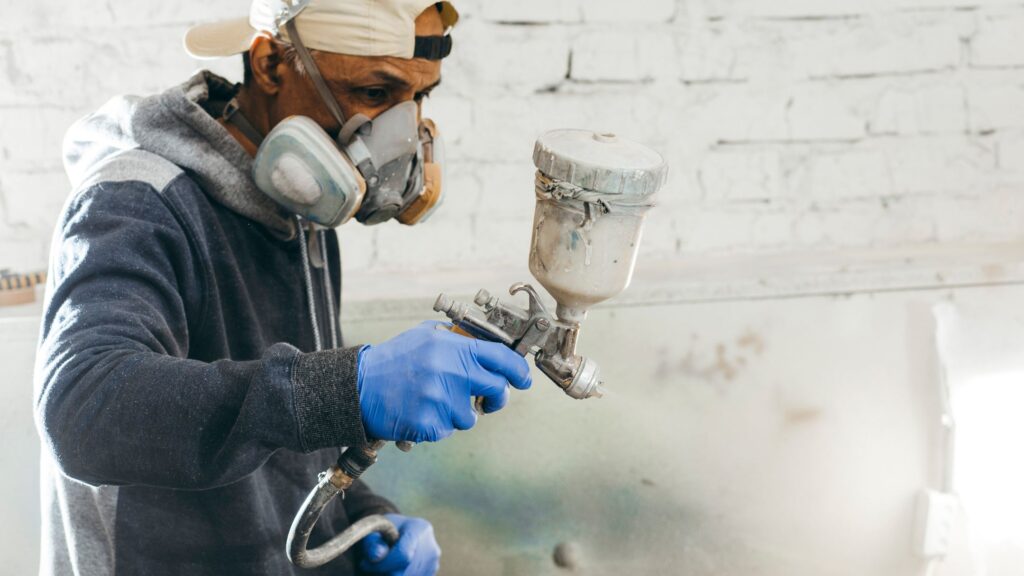
Make sure your workspace is well-ventilated because sprayers can release a lot of paint particles into the air. It’s a good idea to wear protective clothing and a mask to prevent inhaling the paint fumes.
Prep Your Paint and Equipment
Before starting the paint spraying, be sure to read the manufacturer’s instructions for your sprayer. Follow the instructions on mixing the paint and thinning it, if required, according to the type of sprayer and paint.
Make sure you check the pressure settings and make any necessary adjustments. Fill the sprayer’s paint container according to the manufacturer’s instructions. It’s also important to double-check that your gun’s filter is clear so that it can strain out any lumps, bumps, or large debris.
Mix your paint
Different types of paint may require different mixing ratios, so be sure to check the manufacturer’s instructions. In general, you’ll want to mix the paint with a paint thinner or water to thin it out to a consistency that’s appropriate for spraying. Test the mixture on a scrap piece of wood or cardboard to make sure it’s not too thick or too thin.
Practice Makes Perfect
It’s always a good idea to test your paint sprayer on a scrap piece of material or small area before starting the actual project. This gives you a chance to get familiar with the equipment, check the spray pattern, and make any necessary adjustments in the pressure settings.
When you are comfortable using the sprayer, you can begin the paint job. Remember to keep the sprayer at the correct distance from the surface being painted, which is usually 6 to 12 inches away. Start the sprayer by holding the trigger, then spray in a back-and-forth motion, overlapping the edges until the entire surface is covered.
Keep Your Movement Smooth
When you are painting, it’s important to move the sprayer in a smooth motion. Avoid stopping and starting, as this can create runs and uneven coverage. Instead, start moving the sprayer before pulling the trigger, and then release the trigger before stopping the movement.
Overlap each pass by about 50% to ensure even coverage. It can take a few coats of paint to achieve the desired color and finish.
Apply multiple coats
Depending on the type of paint and the surface you’re painting, you may need to apply multiple coats. Allow each coat to dry completely before applying the next. Don’t be tempted to apply too much paint in one coat, as this can lead to drips and other problems.

Clean Up
Cleaning the paint sprayer can be a little tricky, but it’s essential to keep it in good working order. After each use, flush the sprayer with water or an appropriate cleaning solution, making sure to clean all the parts and filters.
Completely disassemble the sprayer and clean in detail, as the paint can damage the sprayer’s parts. Proper cleaning ensures that the sprayer will work correctly next time.
Conclusion
Using a paint sprayer can seem intimidating to beginners, but with practice, it can become an efficient way of painting large surfaces. When you choose the right sprayer, prepare your workspace, prep the equipment, practice first, keep your movement smooth, and clean up thoroughly. With these tips in mind, you’ll be able to use a paint sprayer like a pro in no time, saving both time and energy.

With a degree in Electrical Engineering and years of hands-on experience in the tech industry, passionate to provide readers with insightful reviews. From smartphones and laptops to smart home devices and emerging technologies, he navigates the ever-evolving tech landscape, offering in-depth analyses and honest opinions.

![3d_printed_art_01[1]](https://techreviewly.com/wp-content/uploads/2025/08/3d_printed_art_011-300x225.jpeg)
![a_women_wearing_a_smart_watch_01[1]](https://techreviewly.com/wp-content/uploads/2025/08/a_women_wearing_a_smart_watch_011-300x169.jpeg)


